Raspberry PI: network boot explained
The network booting process has three phases:
- get an IP address via DHCP
- load kernel and configuration files using TFTP
- mount root partition by NFS
Any Raspberry PI can be net-booted
...but it needs an SD card. Only Raspberry PI 3 supports network booting without any card (although I have not tested it yet).
The SD card need to contain one FAT partition and inside it one file: bootcode.bin. The latest version of bootcode.bin can be dowloaded from here. It is a 50K file so any size of SD Card is okay. Even a partially damaged SD card or a fake SD card can be used for this purpose. This file will be read at boot time and never modified so the card should not be further damaged.
Further information on the boot modes can be retrieved from the boot modes page on the raspberry pi foundation documentation site.
Phase 1: DHCP
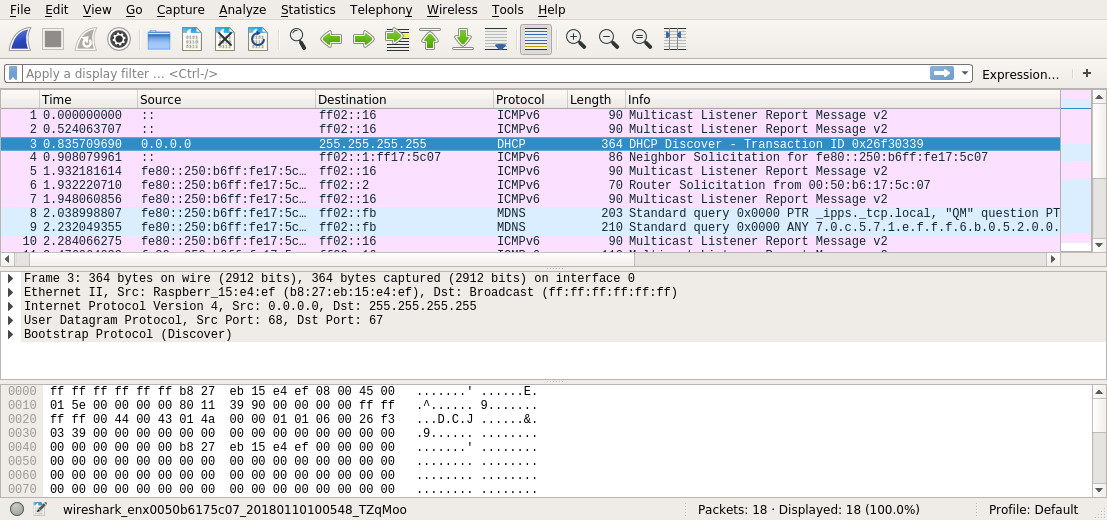
The goal of DHCP is to provide our Raspberry PI with an IP address and inform it that the server is available for the next steps of the network boot
The client MAC address is required to provide our Raspberry PI with its specific IP address.
I suggest to use wireshark to get this information: a view on the network packets flowing on the net can teach a lot about how the boot process really works.
